MLflow, PostgreSQL, Airflow 설치하기 / 2025.02.03
현재 프로젝트는 MLOps 파이프라인 구축을 목표로 하고 있다.
쿠버네티스 환경에서 프로젝트를 구상하기에 앞서, 먼저 로컬 환경에서 프로젝트를 구현해보고자 한다.
이번 프로젝트에서는 모델 실험 관리를 위해 MLflow를 사용할 것이고, 전체적인 워크플로우 관리를 위해 Airflow를 사용하며, DB로는 PostgreSQL를 사용할 것이다.
이제 리눅스에서 MLflow, PostgreSQL, Airflow를 설치해보자.
▶ MLflow 설치하기
설치 방법은 아래 페이지에서 확인할 수 있다.
https://mlflow.org/docs/latest/getting-started/intro-quickstart/index.html
MLflow Tracking Quickstart
In this next step, we’re going to use the model that we trained, the hyperparameters that we specified for the model’s fit, and the loss metrics that were calculated by evaluating the model’s performance on the test data to log to MLflow. Note While
mlflow.org
- MLflow 설치
# Install MLflow
pip install mlflow
- Traking Server 실행
# Launch the MLflow Tracking Server
mlflow server --host 0.0.0.0 --port 8080
MLflow는 실험 결과(하이퍼 파라미터, 성능 등)을 기록하고 관리하는 웹 UI를 제공한다.
위 명령어로 Tracking Server를 실행하면, 가상머신IP:8080 주소로 웹에 접속할 수 있다.

▶ PostgreSQL 설치하기
DB로 사용할 PostgreSQL의 설치 방법은 아래 페이지에서 확인할 수 있다.
https://www.postgresql.org/download/linux/ubuntu/
PostgreSQL: Linux downloads (Ubuntu)
Linux downloads (Ubuntu) PostgreSQL is available in all Ubuntu versions by default. However, Ubuntu "snapshots" a specific version of PostgreSQL that is then supported throughout the lifetime of that Ubuntu version. The PostgreSQL project maintains an Apt
www.postgresql.org
- PostgreSQL 설치
sudo apt update

# Install PostgreSQL
sudo apt install -y postgresql postgresql-contrib- 설치 확인
# check status
sudo systemctl status postgresql
status가 active이면 성공적으로 설치가 된 것이다.

- 계정&데이터베이스 생성
Airflow와 연결할 계정과 데이터베이스 생성
계정: airflow 비밀번호: airflow
# postgresql 접속
sudo -u postgres psql

# 계정 및 데이터 베이스 생성
CREATE DATABASE airflow;
CREATE USER airflow WITH ENCRYPTED PASSWORD 'airflow';
GRANT ALL PRIVILEGES ON DATABASE airflow TO airflow_user;
▶ Airflow 설치하기
Airflow 설치 방법은 아래 페이지에서 확인할 수 있다.
https://airflow.apache.org/docs/apache-airflow/stable/start.html
Quick Start — Airflow Documentation
airflow.apache.org
- postgresql과 airflow를 연결하기 위한 패키지 설치
pip install psycopg2-binary- 환경변수 설정
export AIRFLOW_HOME=~/airflow- Airflow 설치
pip install apache-airflow apache-airflow[postgres]- PostgreSQL과 연결
# airflow 설정 파일 수정
vim ~/airflow/airflow.cfg

# Postgresql 연결 정보 수정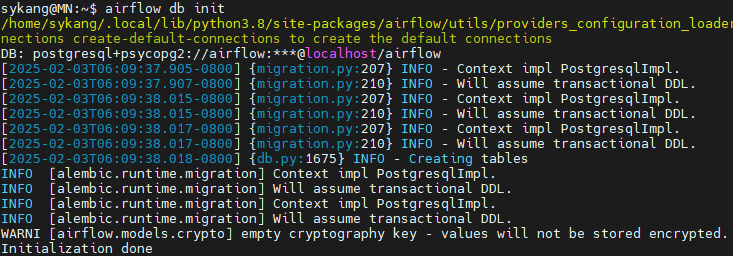
sql_alchemy_conn = postgresql+psycopg2://airflow:airflow@localhost/airflow- Airflow db 초기화
airflow db init성공적으로 연결되면 아래와 같이 출력된다.
- Airflow 계정 생성
계정: airflow 비밀번호: airflow
airflow users create \
    --username airflow \
    --password airflow \
    --firstname Airflow \
    --lastname User \
    --role Admin \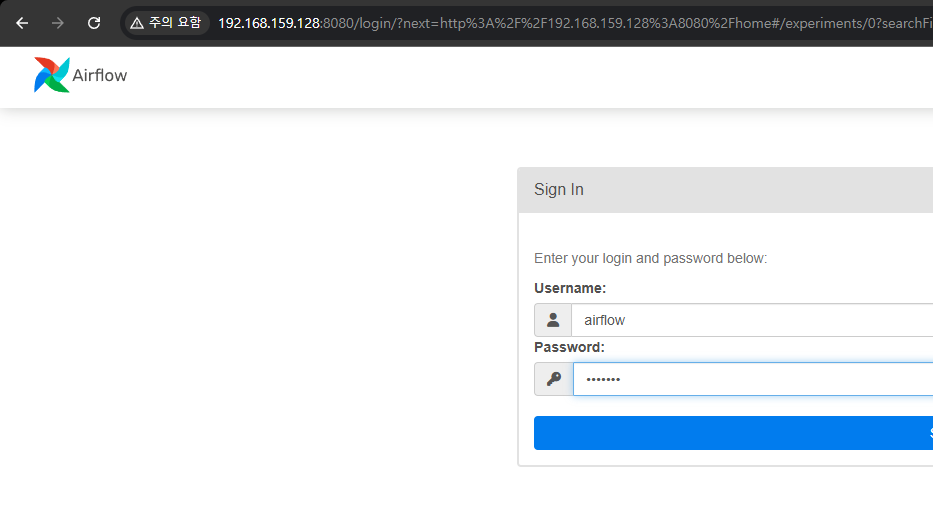
--email airflow@example.com- Airflow 웹 서버 실행
airflow webserver -p 8080 &
위 명령어로 Airflow Web Server를 실행하면, 가상머신IP:8080 주소로 웹에 접속할 수 있다.
기본 포트 번호 8080이 MLflow랑 겹치기 때문에 둘 다 사용할 땐 하나의 포트를 바꿔서 실행하면 된다.